This page is first user documentation and then a project write-up.
This page is first user documentation and then a project write-up.
Your lamp will serve dual function as both its own wireless access point, which broadcasts a hidden network if it is unable to locate a network that has been previously assigned to it. When powering up, it will search for known networks, and if it doesn't locate any, it will begin broadcasting its own network information. The network settings loaded as defaults can be found using the QR code on the base.
If your lamp does not have a QR code on the bottom, it will broadcast a wireless network named WLED-AP, and the password is wled1234
Once you've connected directly to the lamp, or placed it on your network, you will be able to use the app's discover workflow to connect to it.

These lamps will not remember their last settings, but the default boot state is configurable, by changing the contents of the preset in the "1" slot. The easiest way to change the default boot behavior is to set the lamp to the desired state, and add a new preset through the right most bottom menu option.
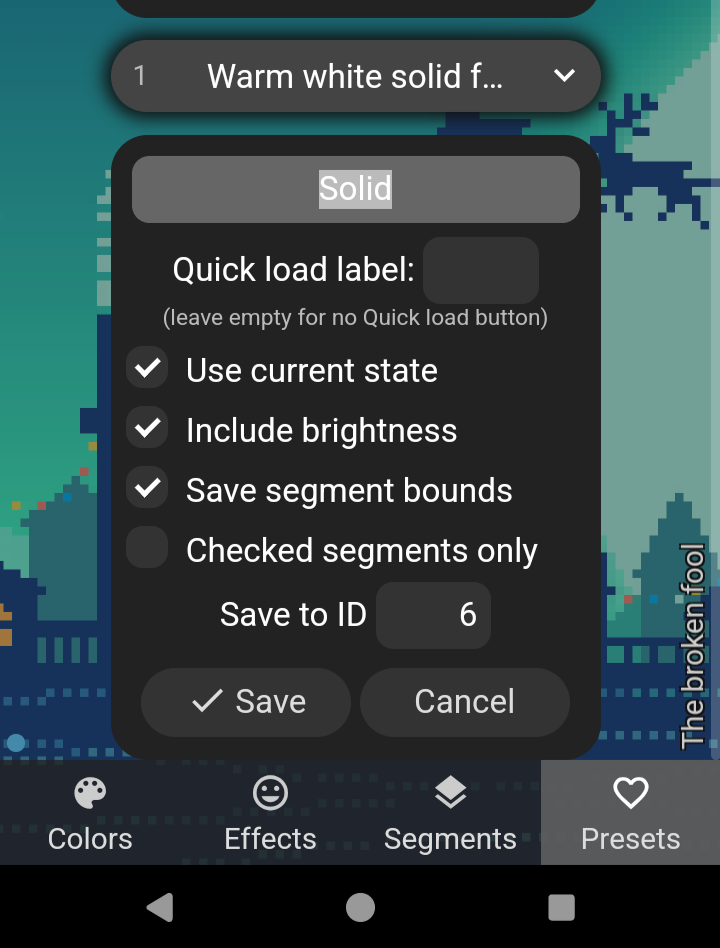
By default, the preset with ID 1 is applied at boot. This can be altered under the "LED preferences" config menu. Scroll down until you locate it.
Additional information for the controller and its firmware can be found under the WLED project, here.
I hope you can use and enjoy this! If you have questions or need anything added to this page, I bet you know where to find me.
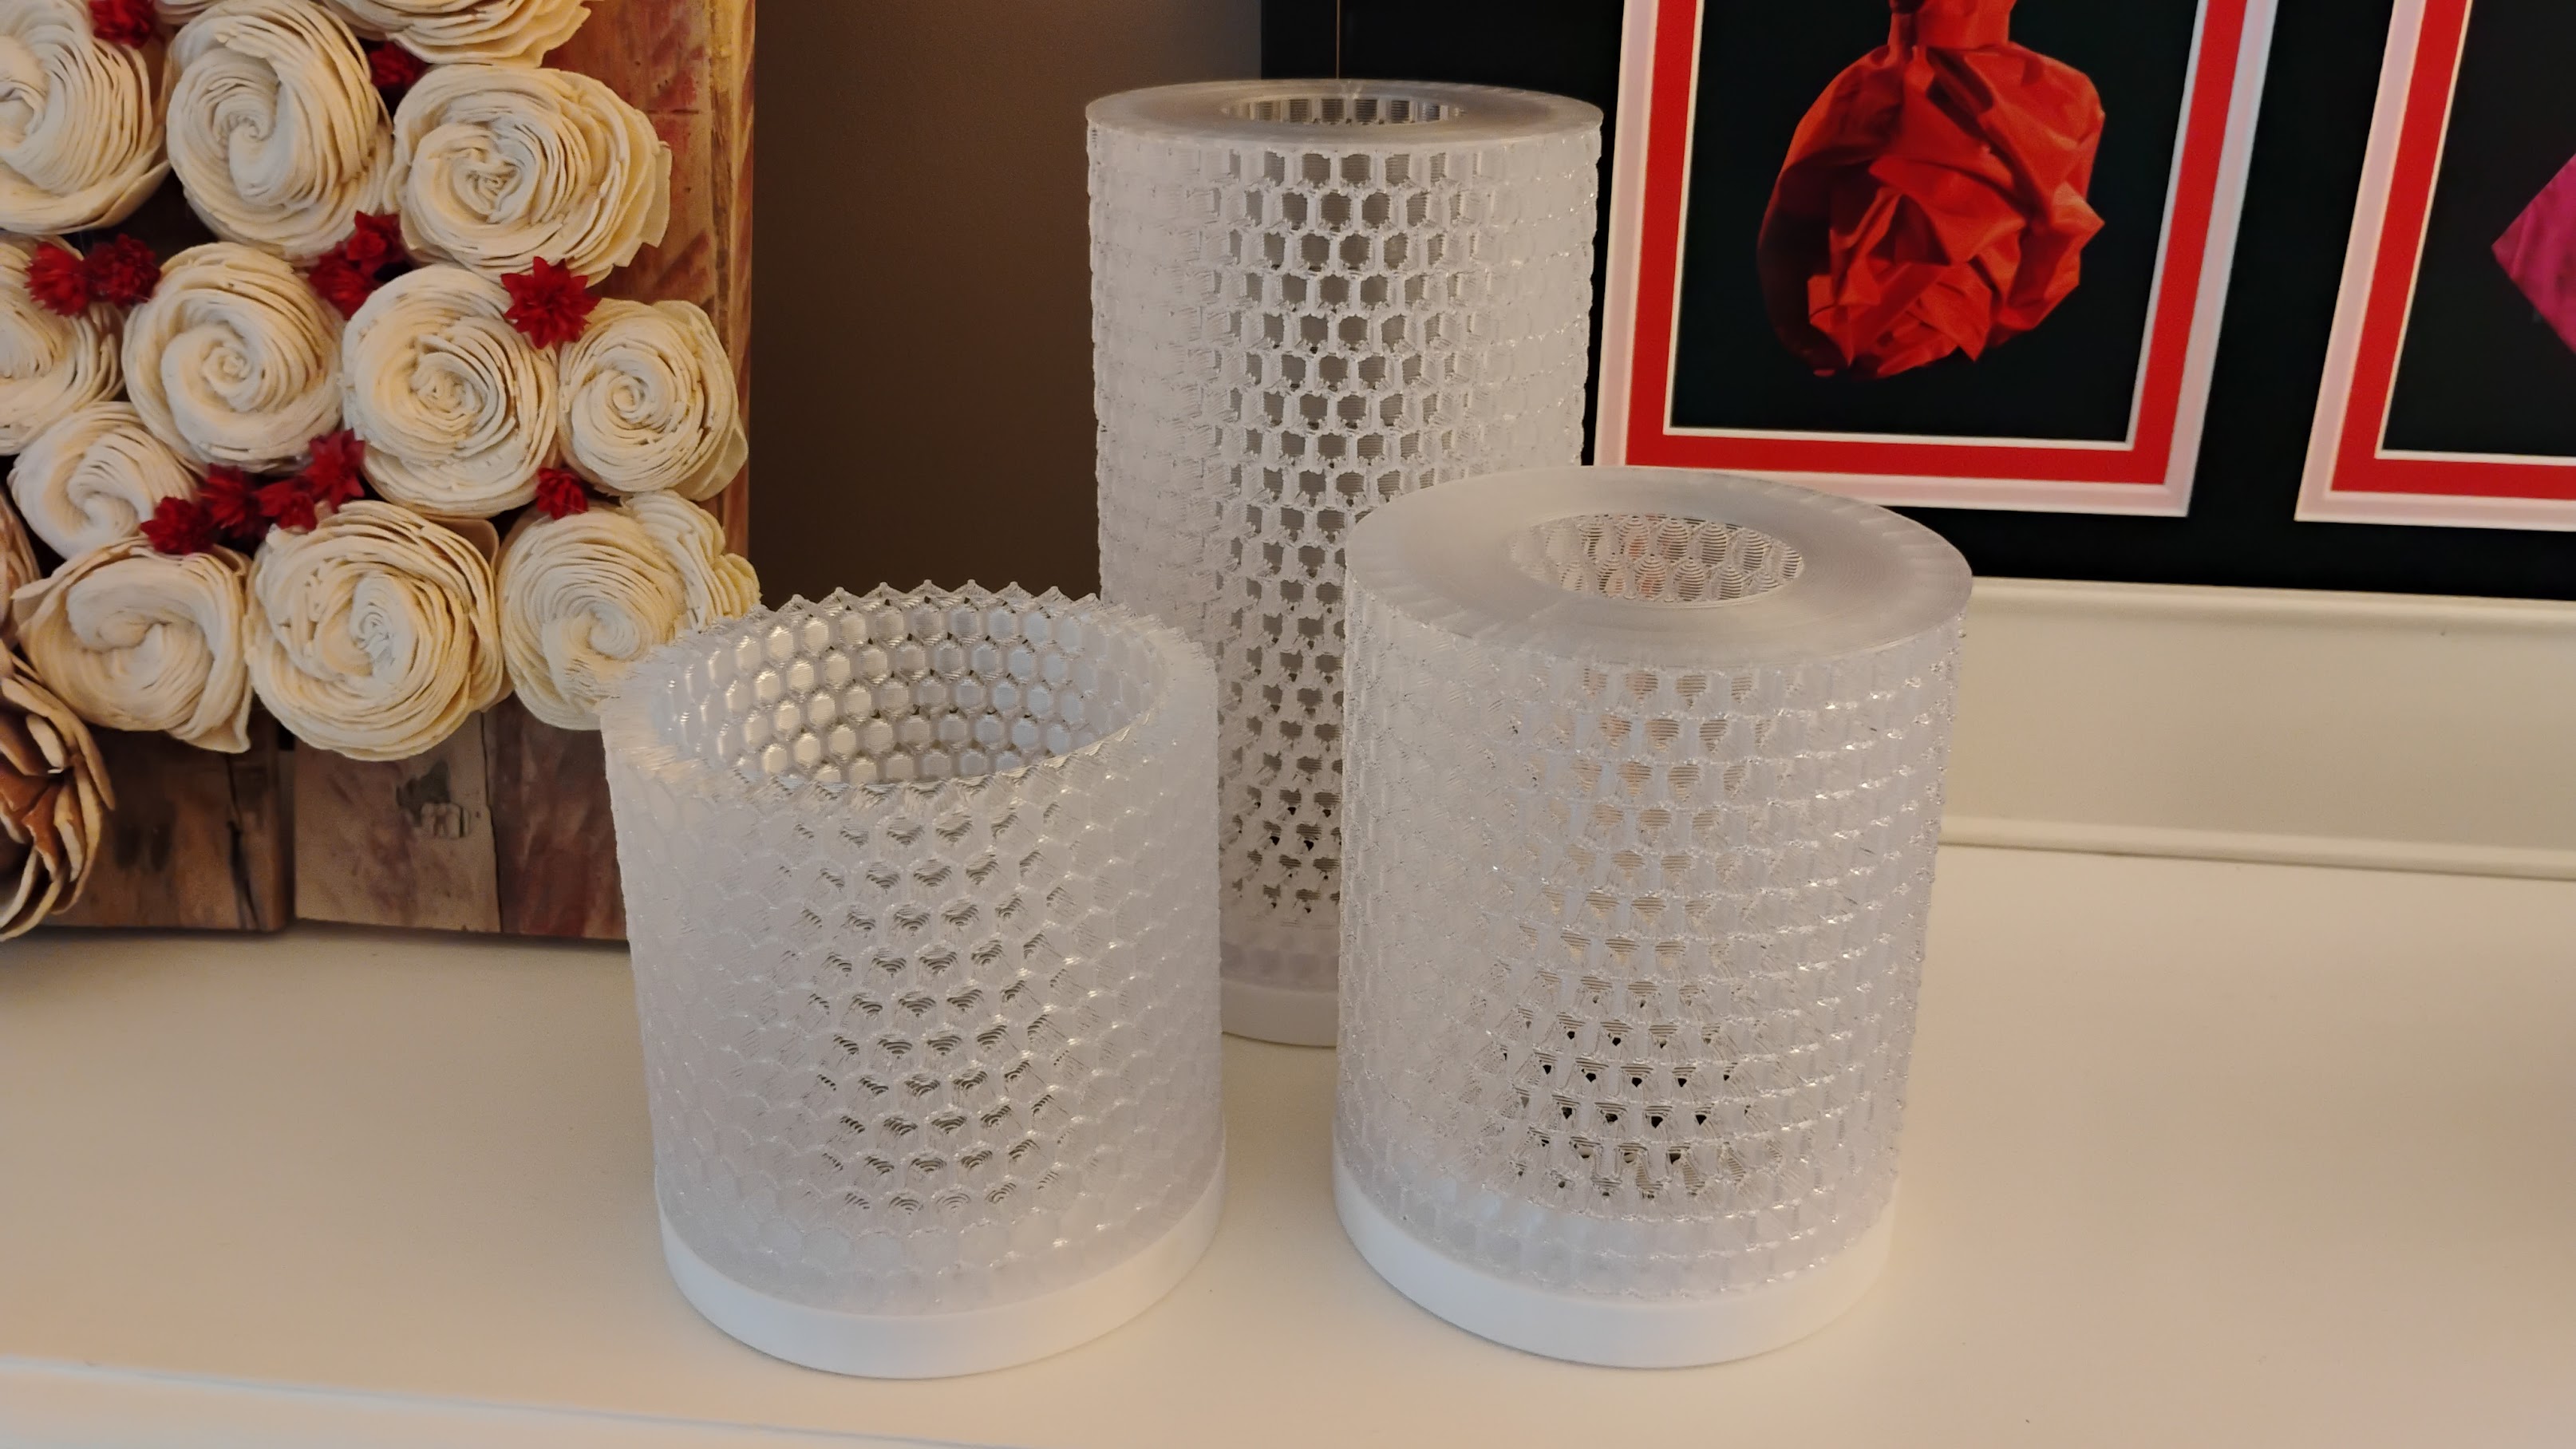
The shade is a dimension only remix of this model. The base is a custom puck that houses the MagWLED-1 and the Neopixel ring.
Each puck has the lamp's connection information embedded in the bottom. An OpenSCAD file is used to generate the QR code for embedding.
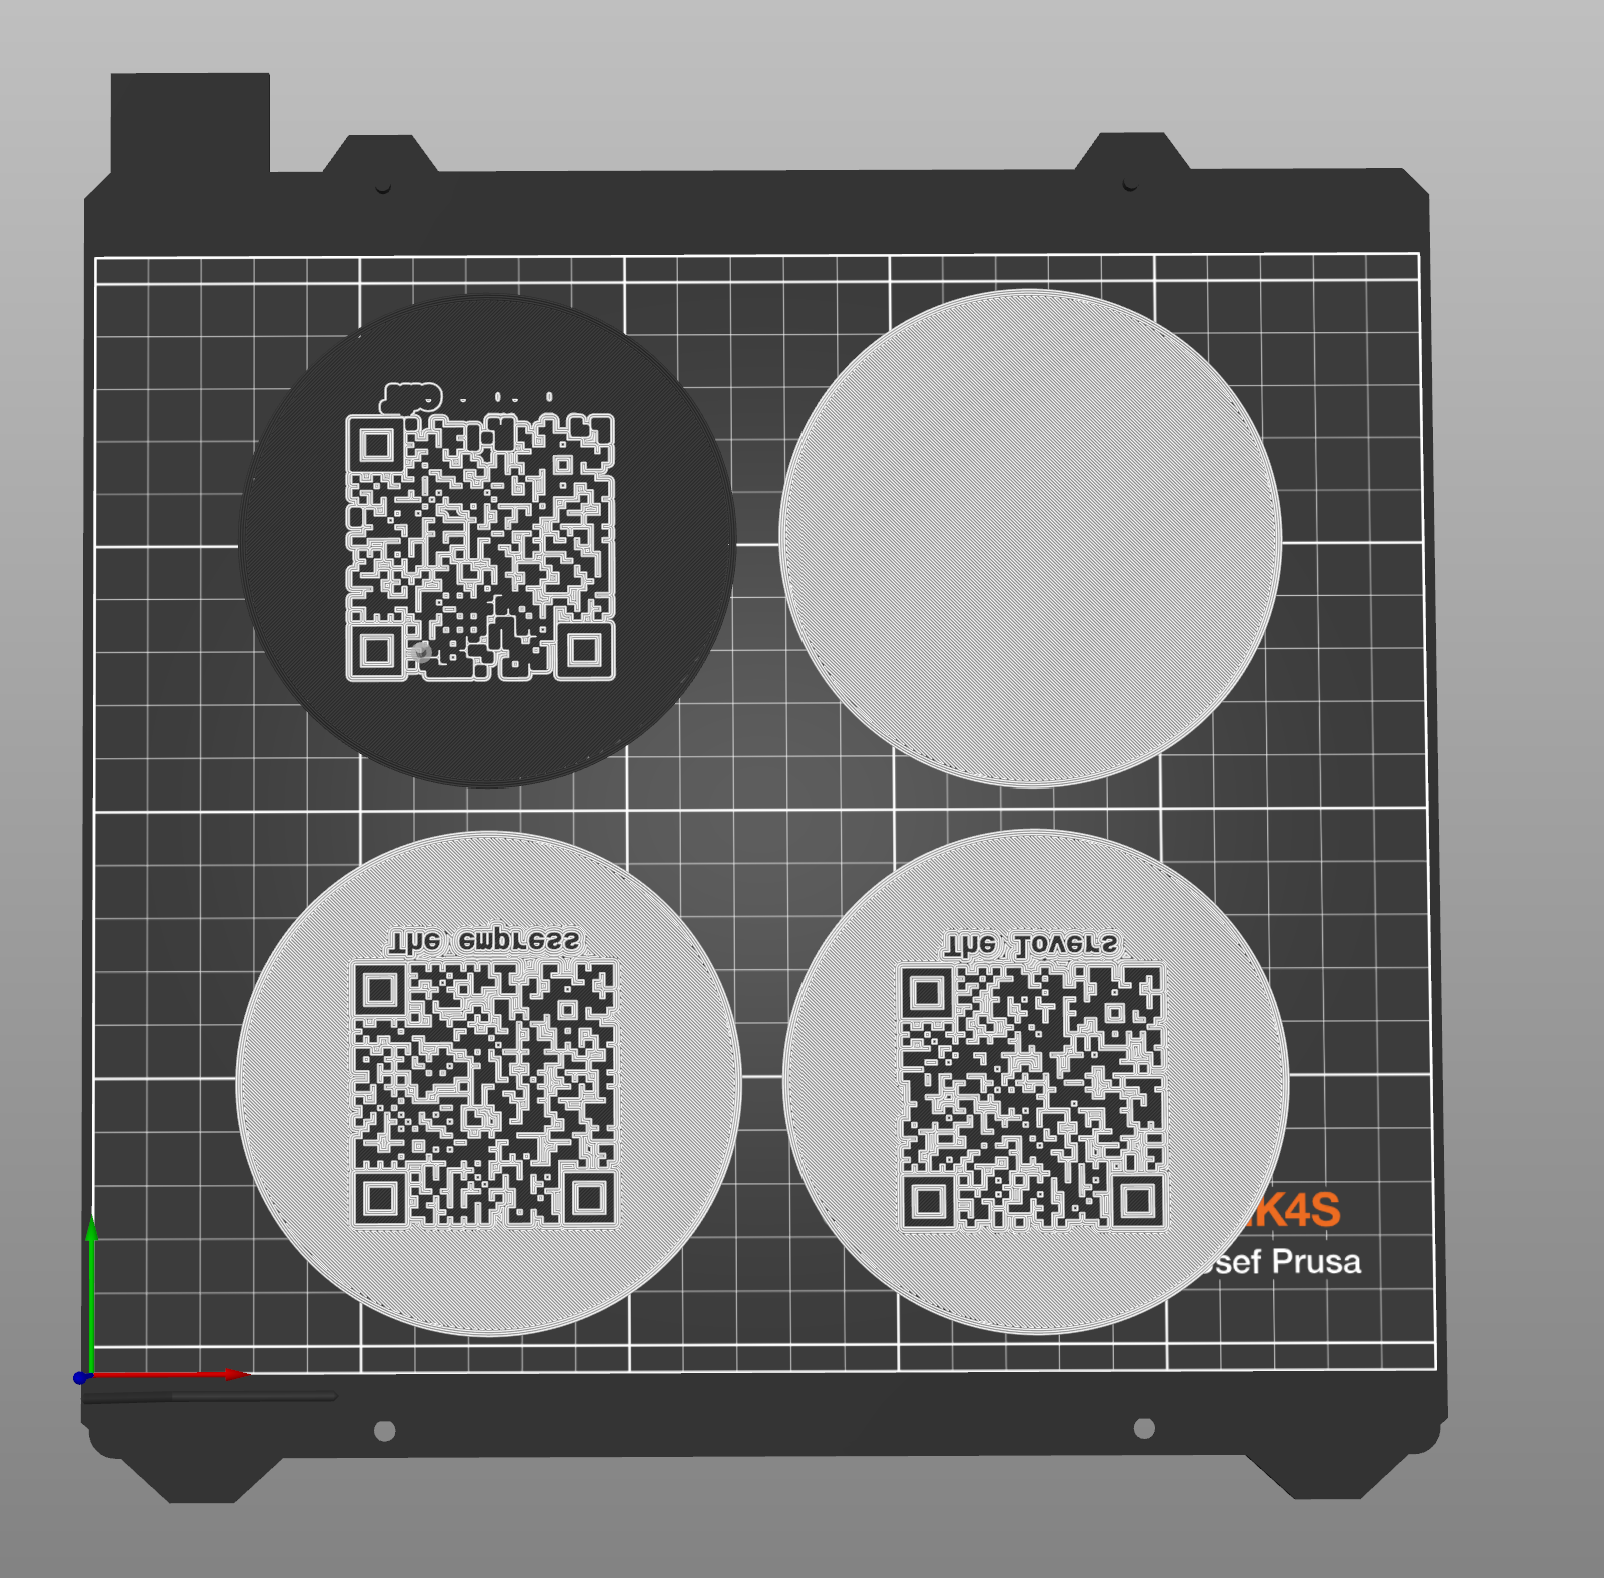
In order to do this the QR code must be slightly thicker than the intended layer height, and the clarity and quality of the result is highest if the outer portion of the object is printed first, with the black elements being filled in after. I have only a single color printer, so I use the manual MMU method detailed here:
The tool change custom G-code is the important thing to lift, then just monitor the print until it's time to swap, and then swap back. There are other good tips included in this model.
Final assembly is straight forward and the same as any Neopixel WLED project.